How to make a star background in Photoshop
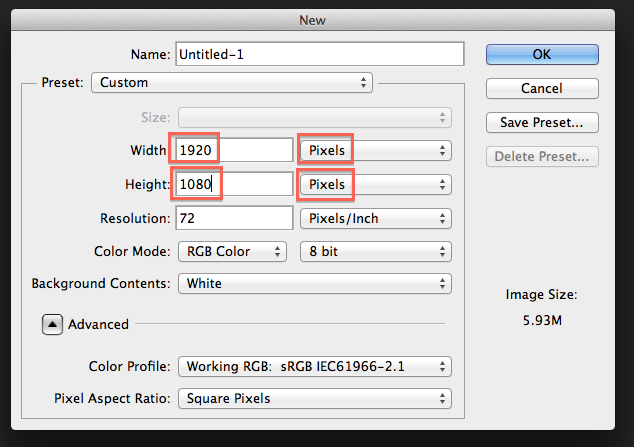
Step 1Make a new file. File > New
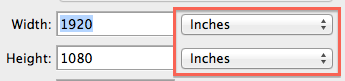
(like this)-----> Set the size to Width 1920 Pixels and Height 1080 Pixels IF you get the error message below, press Cancel and make sure you click where it says Inches and choose Pixels. 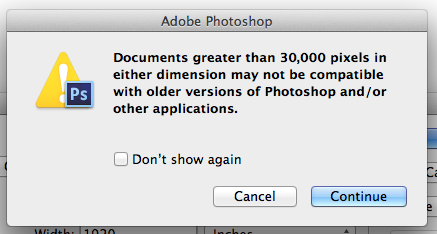
|
|
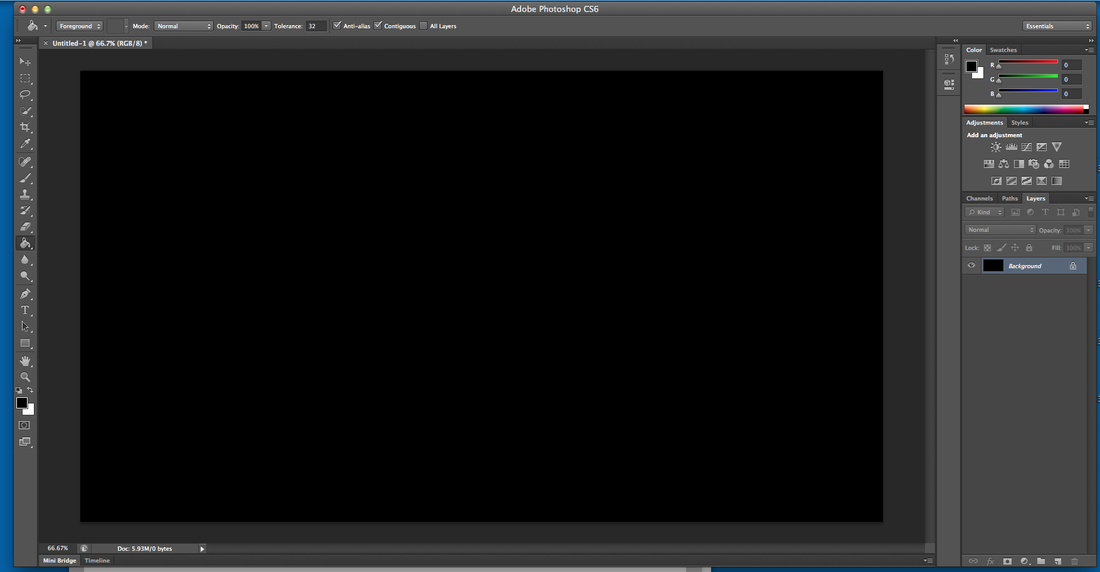
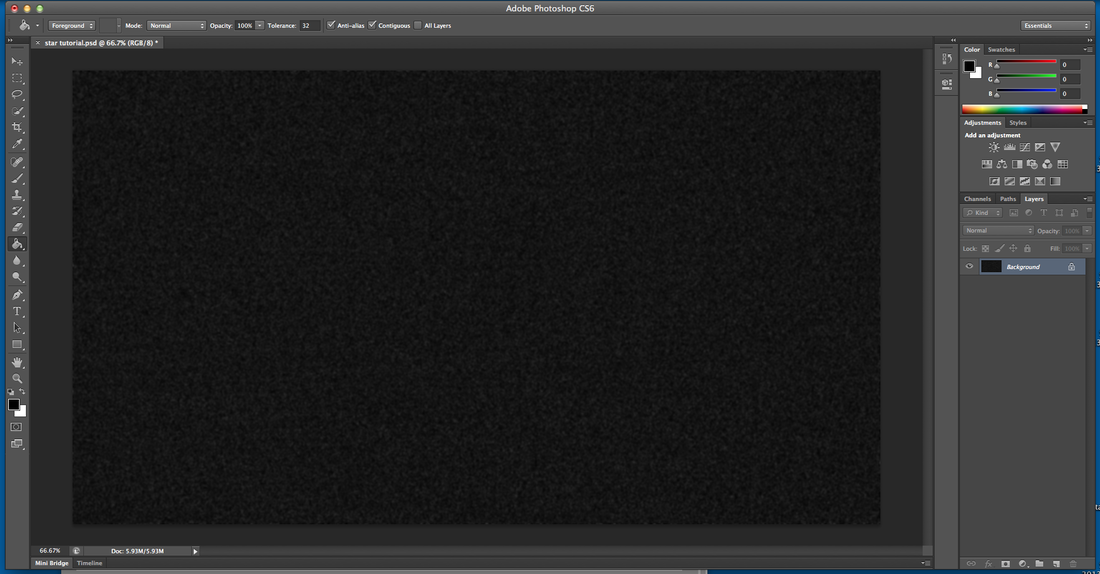
Step 2Make sure your color is black. ----->
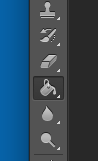
Click the Paint Bucket Tool. -----> Click in your picture to make the whole thing black, like the picture below. |
|

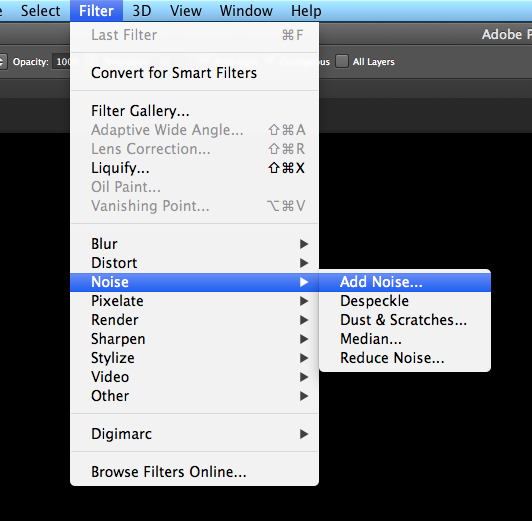
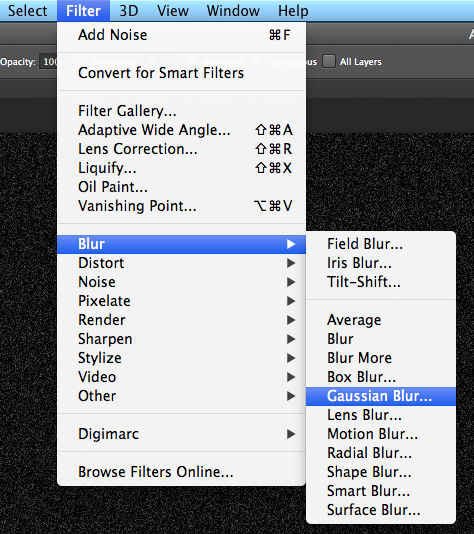
Step 3Go to the Filter > Noise > Add Noise...
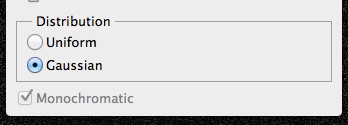
(like this)-----> Set the Amount to 20, click Gaussian and Monochromatic. 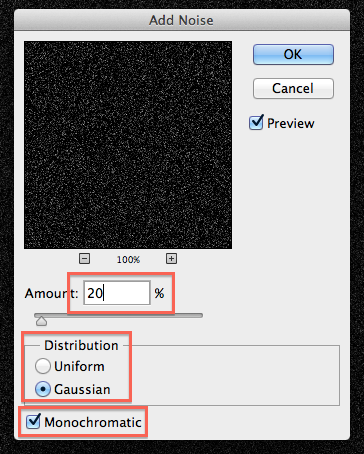
IF you can't click Monochromatic, just click OK.
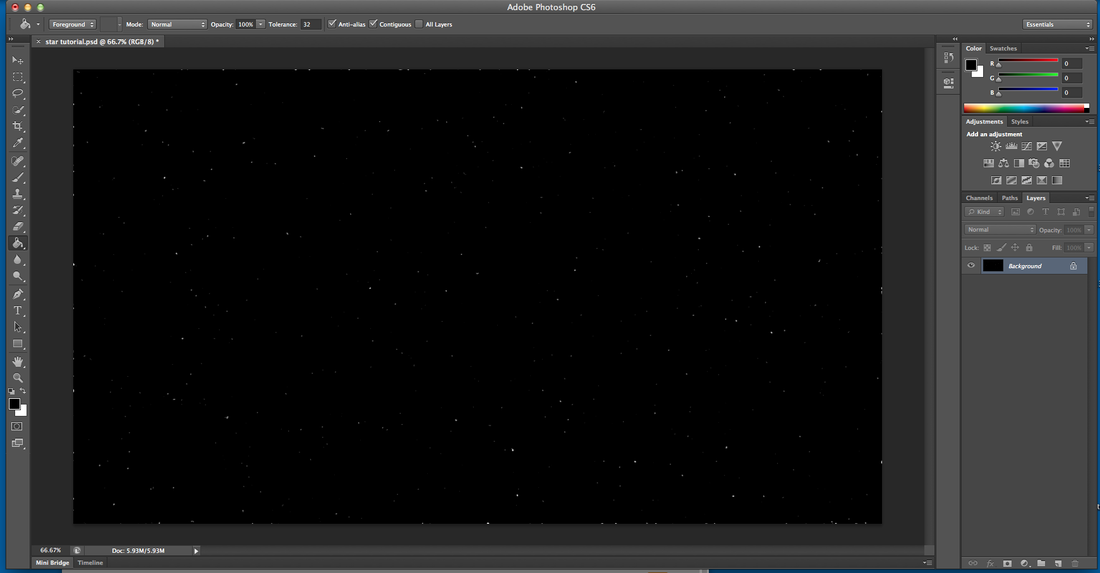
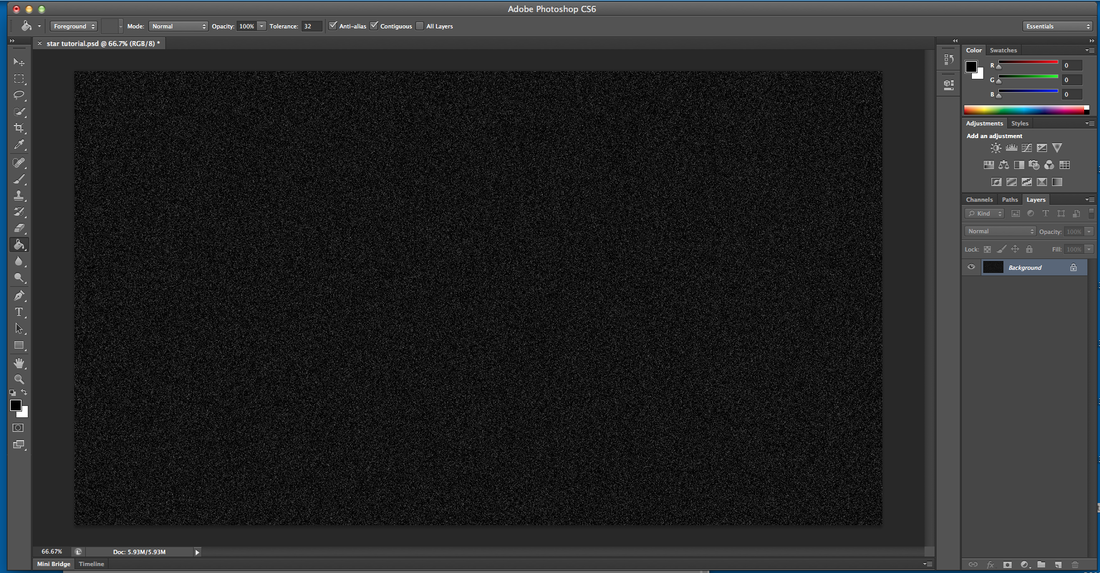
Your picture should look like this:
|
|
Step 4Go to Filter > Blur > Gaussian Blur...
(like this)-----> Set the Radius to 2 and click OK. 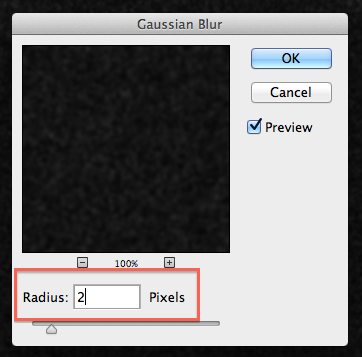
You picture will now look like the picture below:
|
|
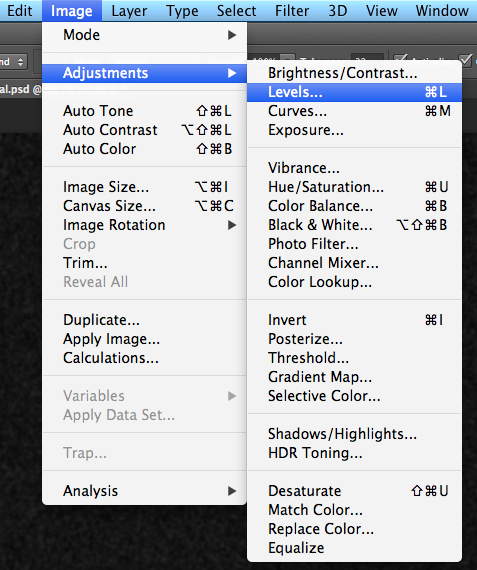
Step 5Go to Image > Adjustments > Levels...(like this)----->
In the top three numbers, set the first one to 32 and the last one to 40, like the picture 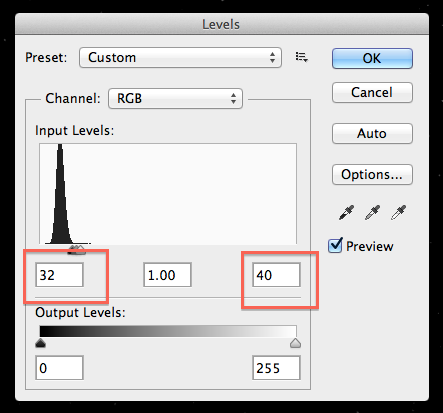
Your picture will now look like the one below:
|
|