How to make a nebula in Photoshop
Step 1Open the star background you made in the last tutorial.
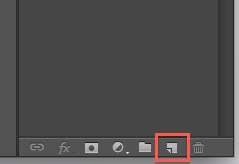
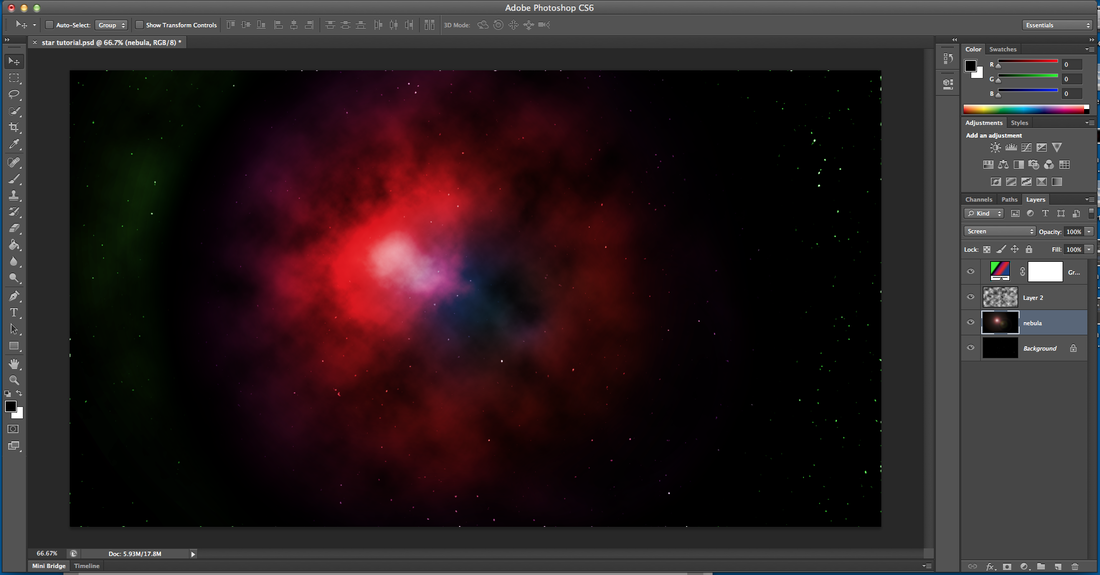
Go to the Layers panel and click the New Layer button next to the trash icon. Like the picture here -----> Change the name of Layer 1 to nebula. 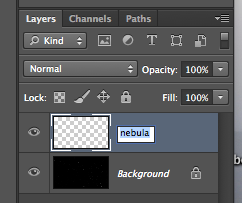
|

|
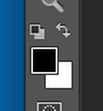
Step 2Make sure your color is black. ----->
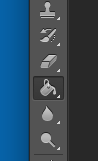
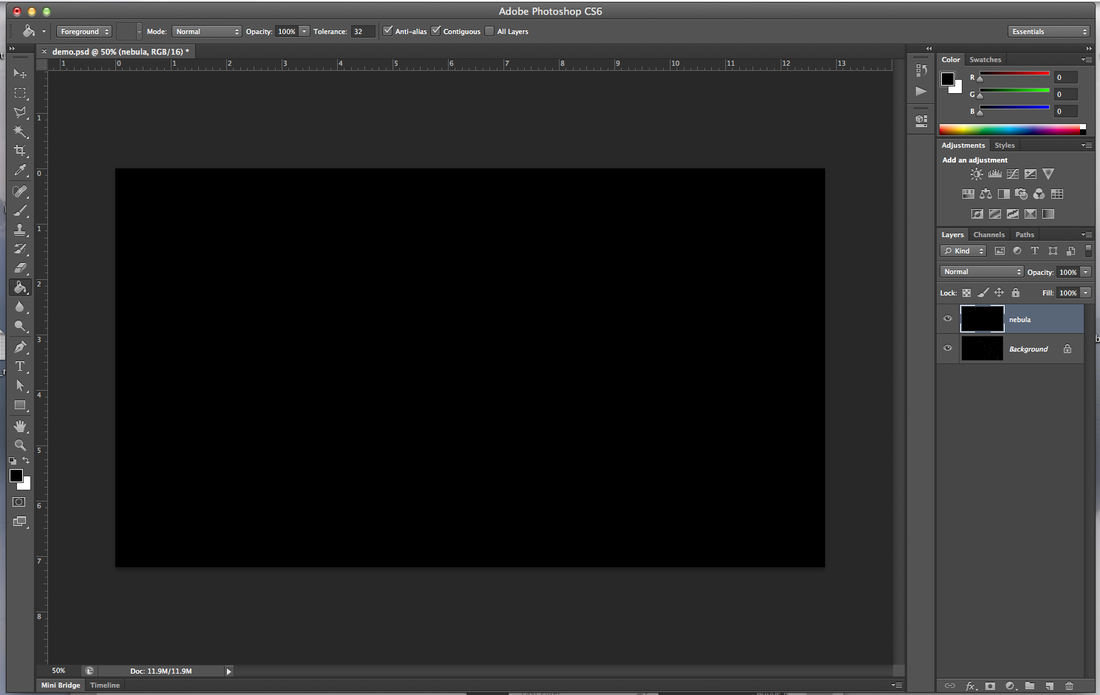
Click the Paint Bucket Tool. -----> On your nebula layer, click in your picture to make the whole thing black, like the picture below. |
|
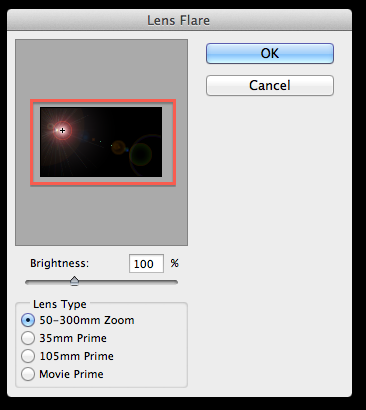
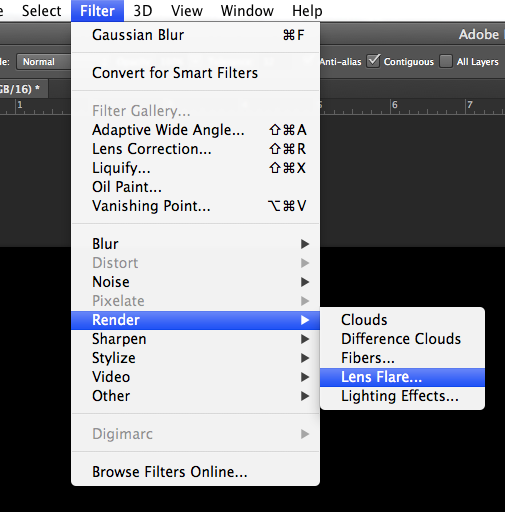
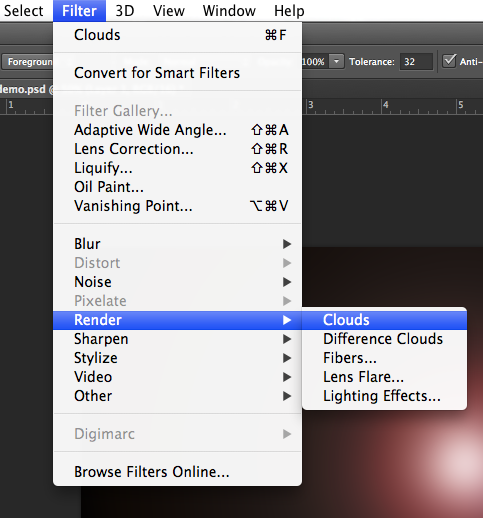
Step 3Go to the Filter > Render > Lens Flare...
(like this)-----> There are three things you can play with here:
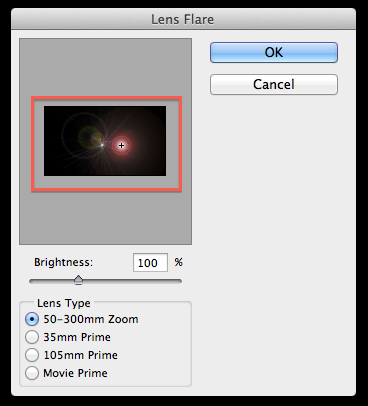
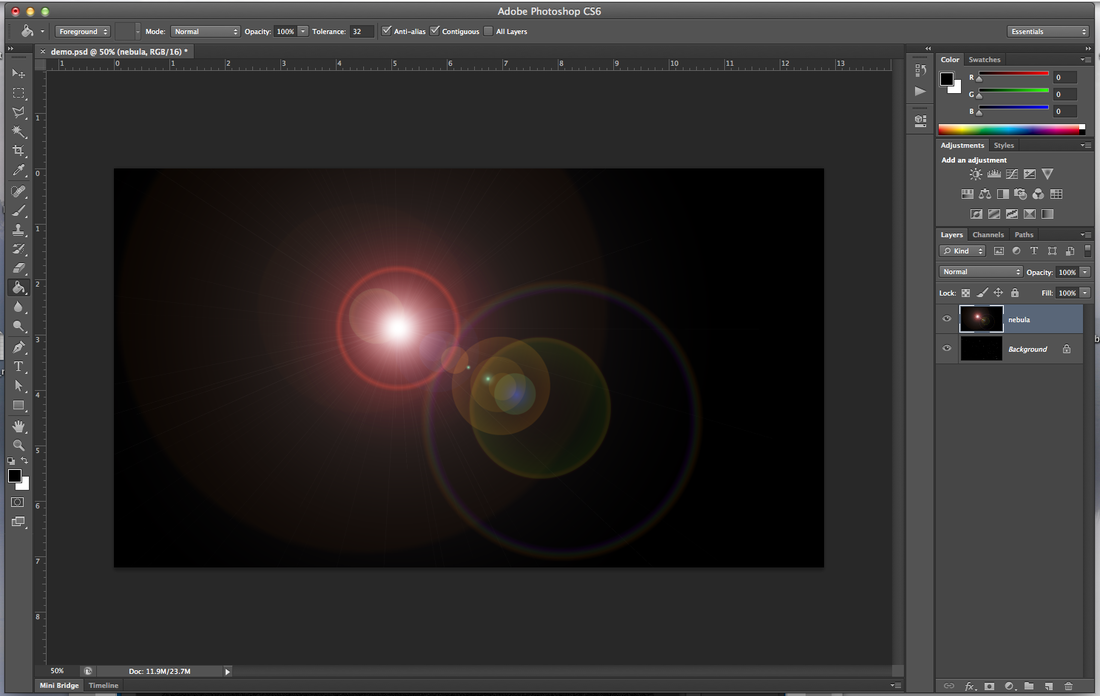
Your picture should look something like this:
|
|
Step 4Go to Filter > Blur > Gaussian Blur...
(like this)-----> Set the Radius to somewhere between 20 and 60 and click OK. (30 works great) 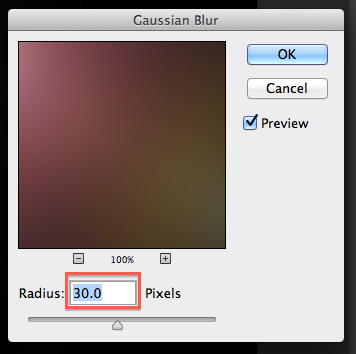
You picture will now look like the picture below:
|

|

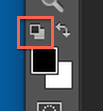
Step 5Make sure you colors are set to black and white. If now, click on the small icon to the top left of the colors. Like this ------>
Now click the new layer button in the Layers panel. |
|
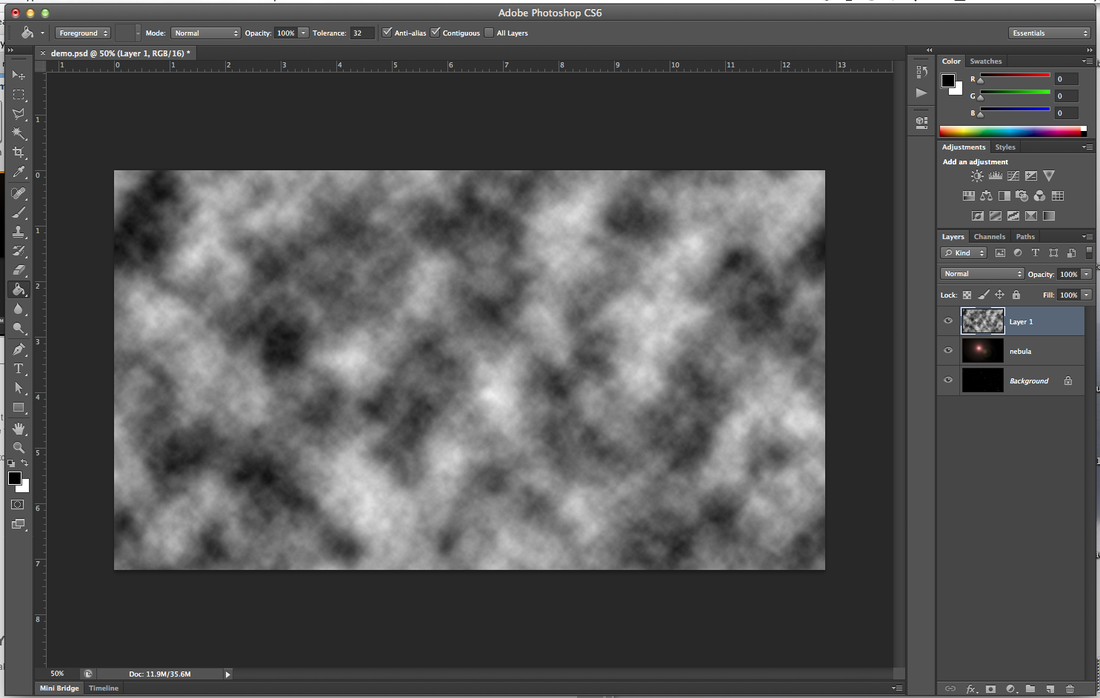
Step 6Go to Filter > Render > Clouds
Your picture should look like the picture below. If it is not black and white, go to Step 5 and make sure you pick Black and White. |
|
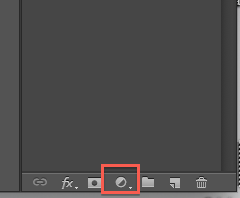
Step 7Make a new adjustment layer by clicking on the half-filled circle at the bottom of the Layers panel. (Like this ----->)
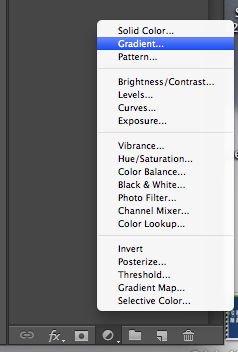
Choose Gradient... The popup window below will open. This is where magic happens. 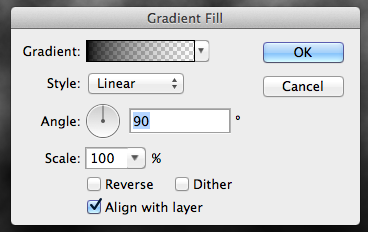
|
|
Step 8 (working with gradients)Remember, you can change this gradient as many times as you want later. Even after your whole picture is done, you can go back and change the gradient easily.
To change the color of your gradient, click in the box next to Gradient. (like the picture below) This will open a popup like the one to the right. -----> This is called the Gradient Editor. 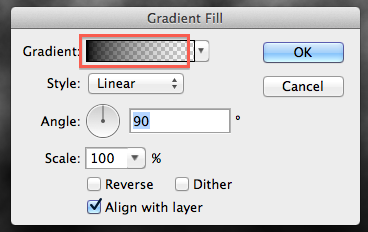
|
|
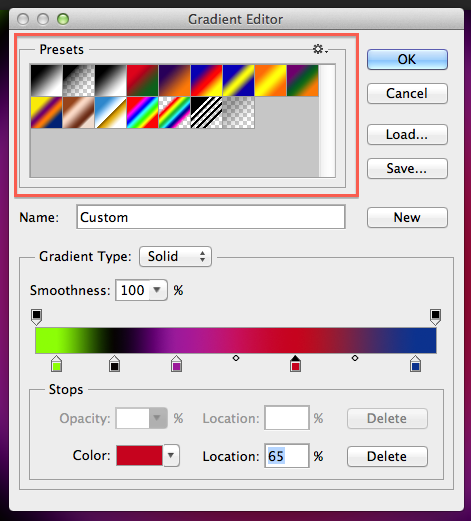
Step 9Start by picking one of the Presets at the top. Like this ----->
Click on one that is colorful. |
|
|
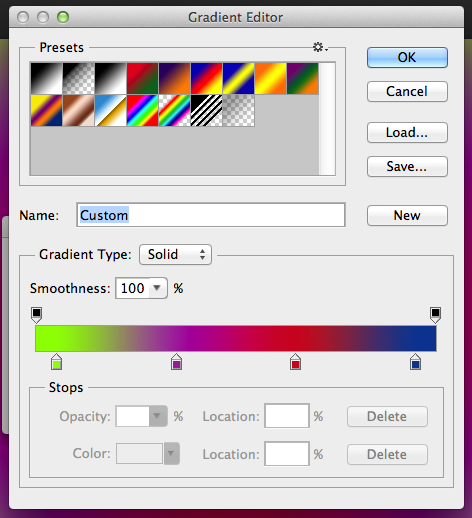
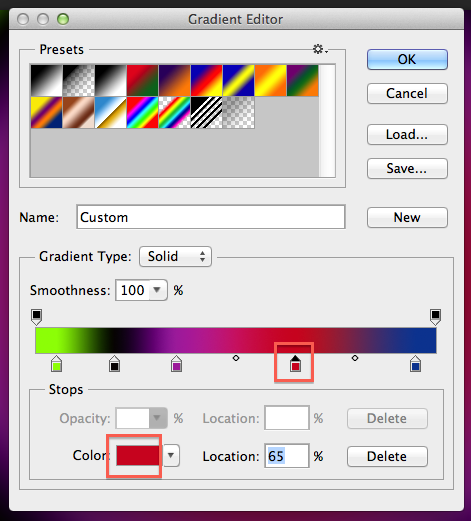
Now look at the colorful bar in the middle of the window.
UNDER this are some small squares. These are called Stops. They control the color of your gradient: what color, how much color, where color is... This is how stops work:
|
|
|
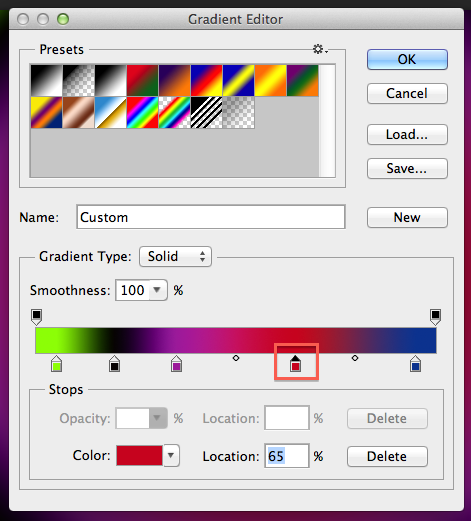
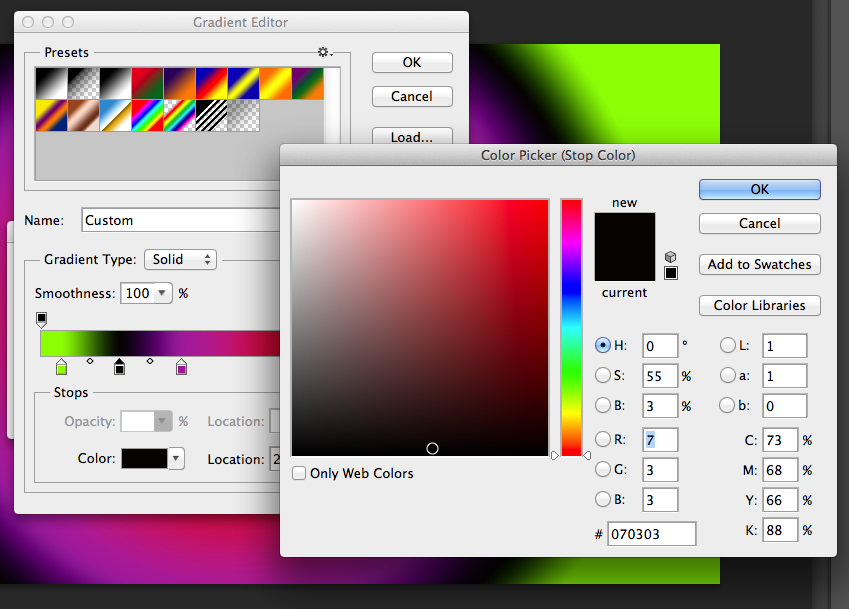
To change the color of a Stop, either double click on the Stop
OR Click on a Stop, and click the box next to the word Color at the bottom. This will make the color picker appear, (like the picture below) and you can change colors around. Once you have chosen all the colors in your gradient, click OK in the Gradient Editor window. (This window ----->) |
|
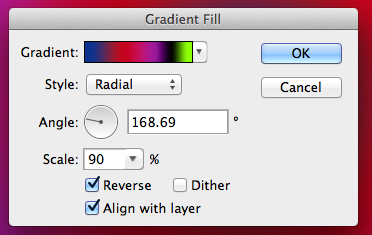
Step 10Now that you have picked your gradient's color, you can chose which type of gradient you will have. As you change things, you can see what they look like instantly in your picture.
First, click on the menu next to the work Style: and the options below will appear. 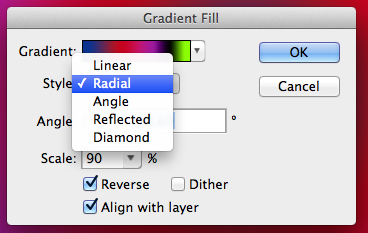
For this nebula, Linear or Radial will work best.
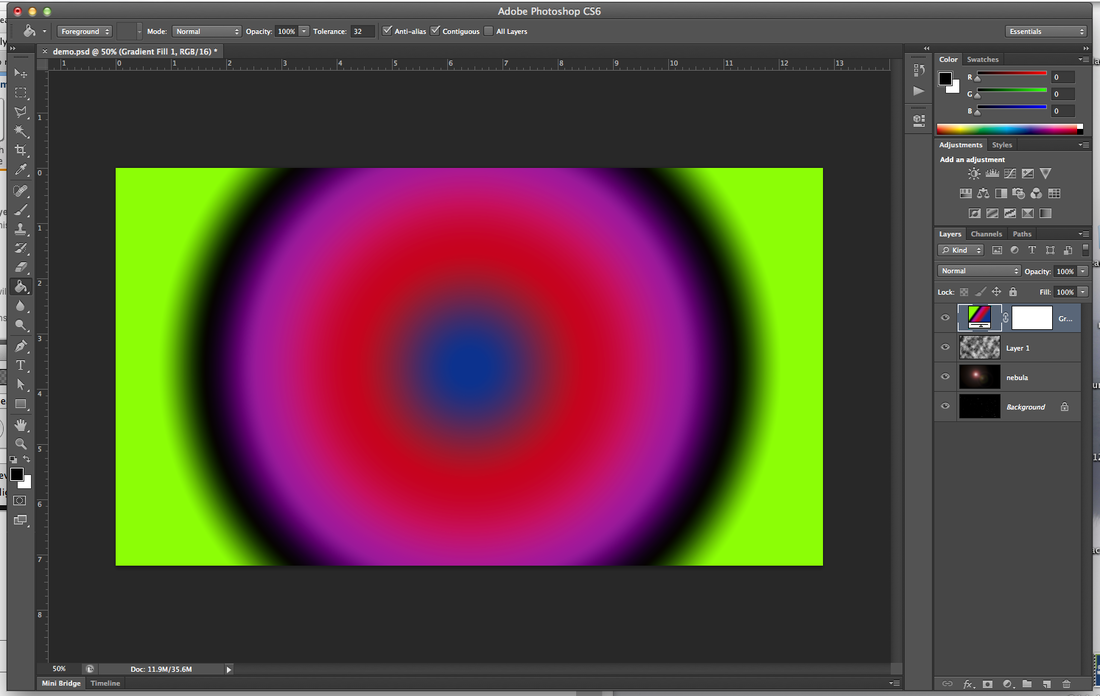
Next, try clicking in the circle next to the word Angle: and see what happens. You can also try changing the Scale or checking the Reverse box. Once you like what you have picked, click okay. Your picture should have a gradient, though it may not look at all like the one below. |
|
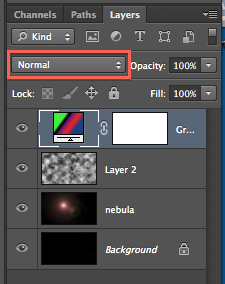
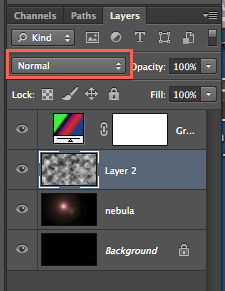
Step 11Now we will work with something called Blending Modes. These change the way one layer interacts with the layers below it.
First, make sure you are on your gradient layer. (like the picture to the right) Now click on the box that says Normal, this will open a drop down menu (like the one below). Choose Overlay. 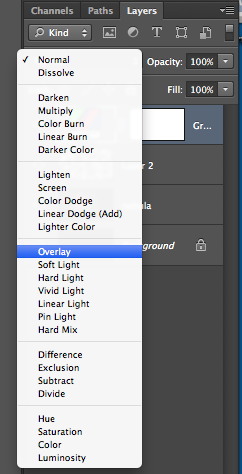
Now your picture will look like this:
|
|
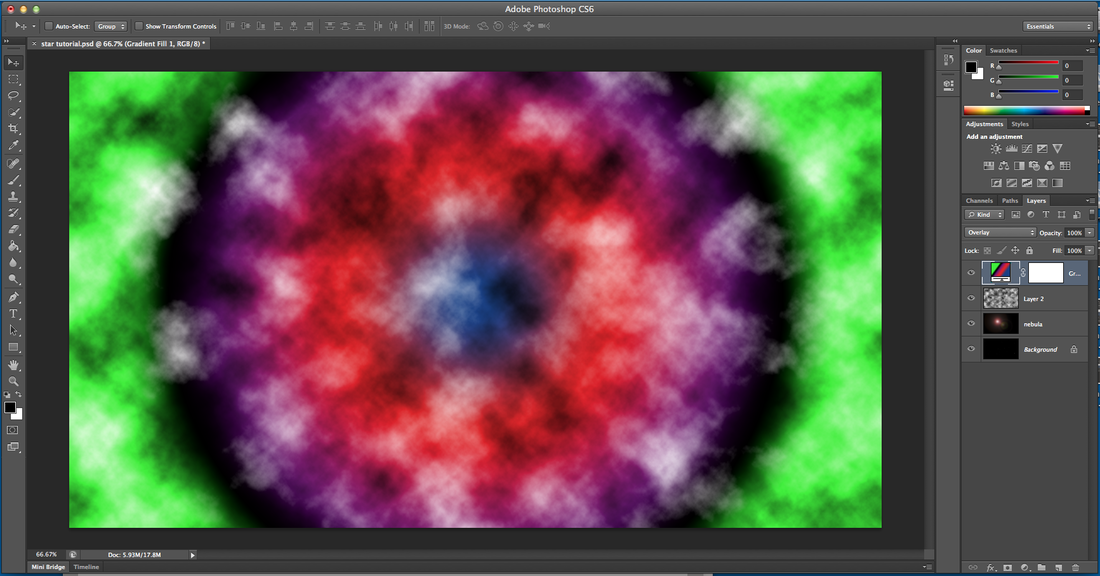
Step 12Repeat this with the layer that has the clouds on it.
Click on the layer, then click the word Normal, and choose Overlay again. 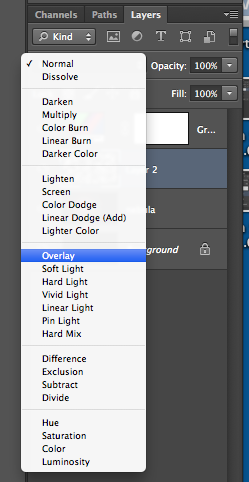
It should now look like the picture below:
|
|

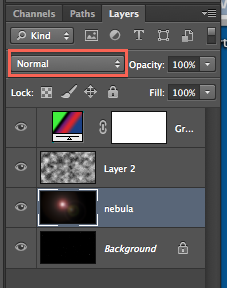
Step 13Now we need to bring back the stars.
Click on your nebula layer, then click on Normal to open the Blending Mode menu again. This time, choose Screen. 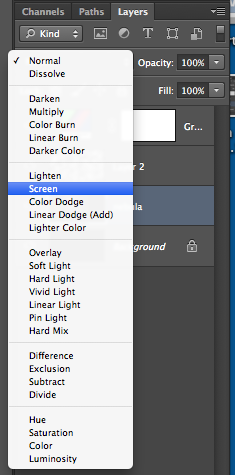
It should look like the picture below.
|
|
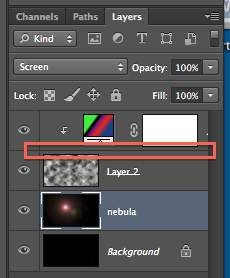
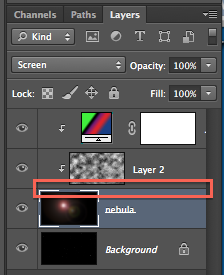
Step 14See how the stars are all colored though? We will fix this by clipping the color layers to the nebula.
When you hold down the Option key and put your mouse over the line between two layers, it changes into a box like the picture below: 
While it looks like this, click on the line and it will clip the layer to the one beneath it.
Hold the Option key and click on the line between the Gradient layer and Cloud layer. Like the picture to the top right. Now hold the Option key and click on the line between the Cloud layer and the nebula layer. It will look like the picture below. |
|

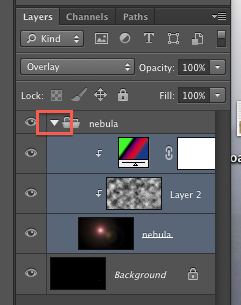
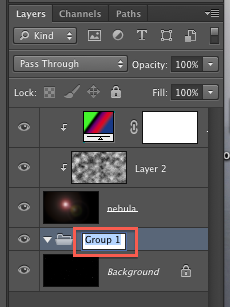
Step 15 (one last thing)This space picture is going to get crazy with so many layers, so we will keep things organized with Groups.
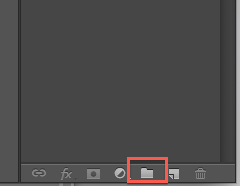
At the bottom of your Layers panel, click on the icon that looks like a folder. This will make a new Group, like the picture to the lower right. Double-click on Group 1, and change the name to nebula. (see picture below) 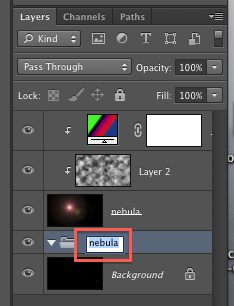
Now, click on your gradient layer. Hold down the Shift key, and click on your lens flare layer.
This will select all of those layers. They will be highlighted in blue, like the picture below. 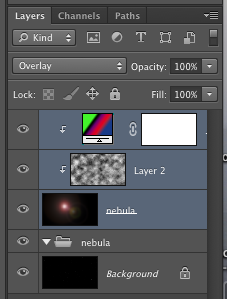
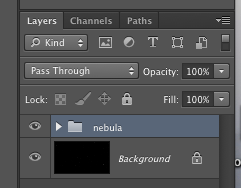
Now click and drag any of those layers into the group. It will look like the picture below. See how the layers have moved right?
Finally, if you click on the small triangle to the left of your group name, it will collapse the group. This will help you to keep your layers organized.
|
|
