How to Make a Planet in photoshop
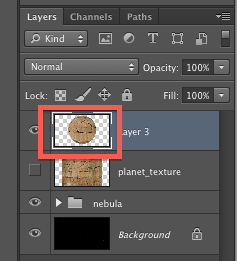
Step 1Make a new layer.
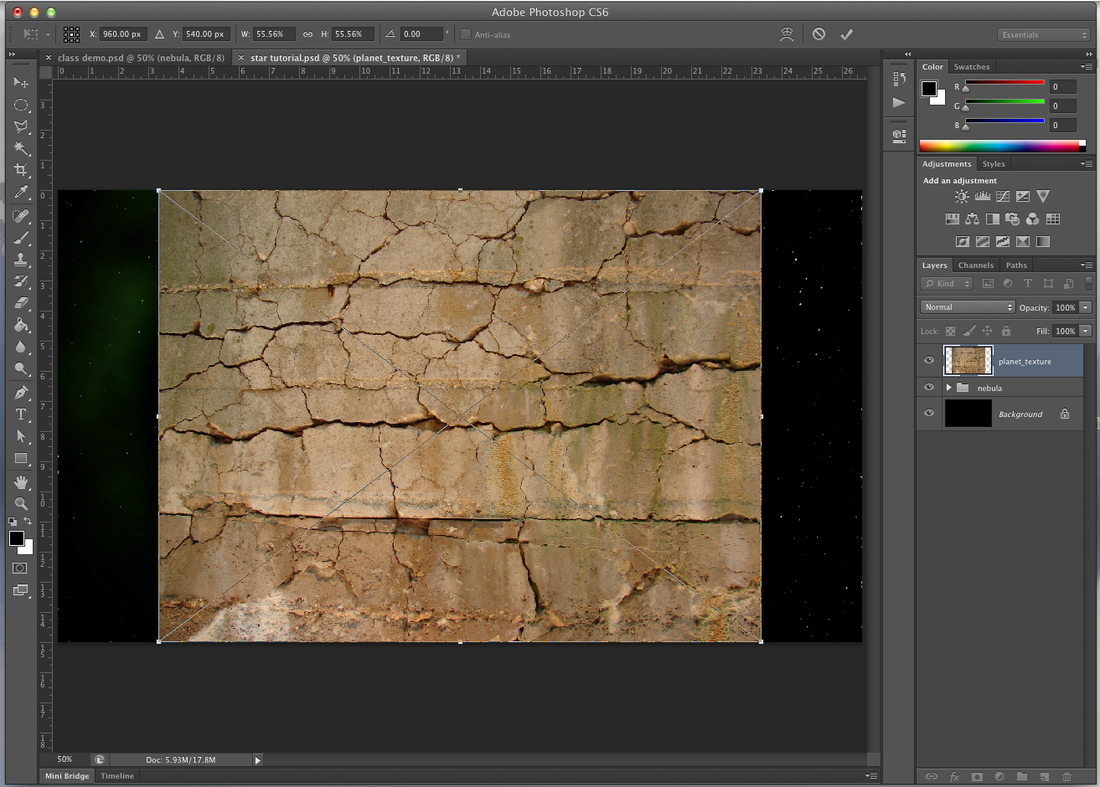
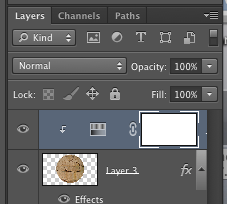
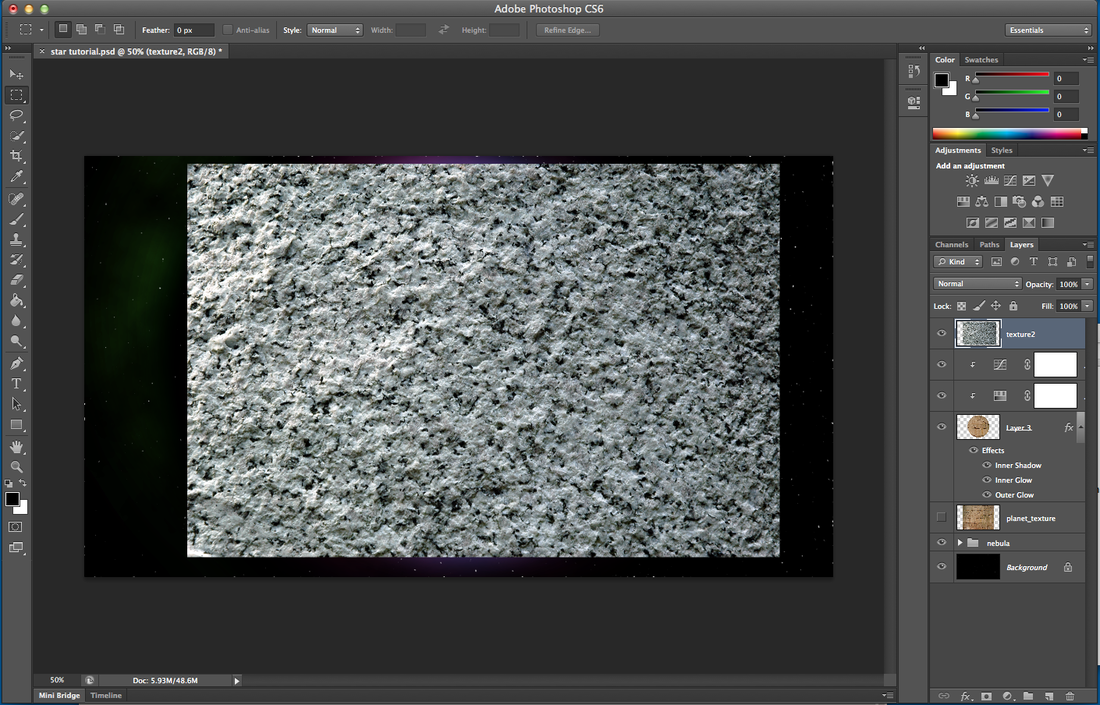
If it is under the nebula group, drag the group below the new layer. Make sure you don't put the new layer in the nebula group! Make sure you are on your new layer, like the picture below. 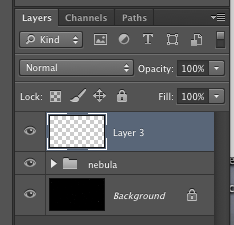
FOR THE DEMO ONLY:
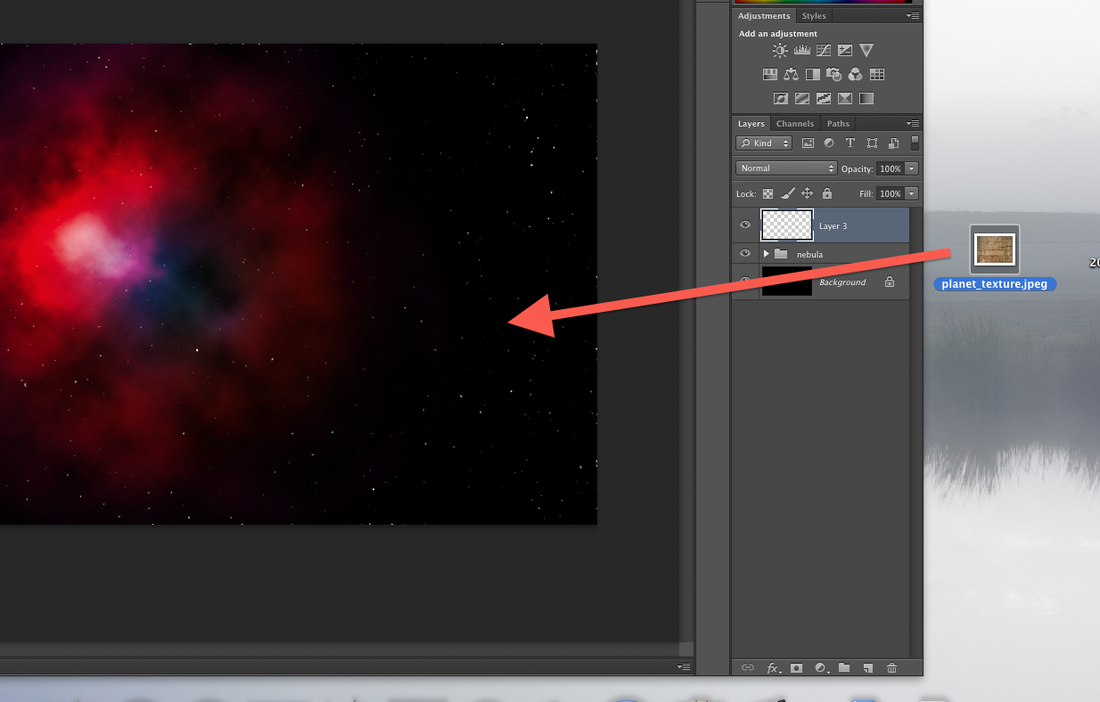
Copy and paste the first planet texture into your PS document, and skip to Step 2. WHEN WORKING WITH PICTURES FROM THE CAMERA:
Now drag you photo into you space picture. |
|
It should look like this:
|
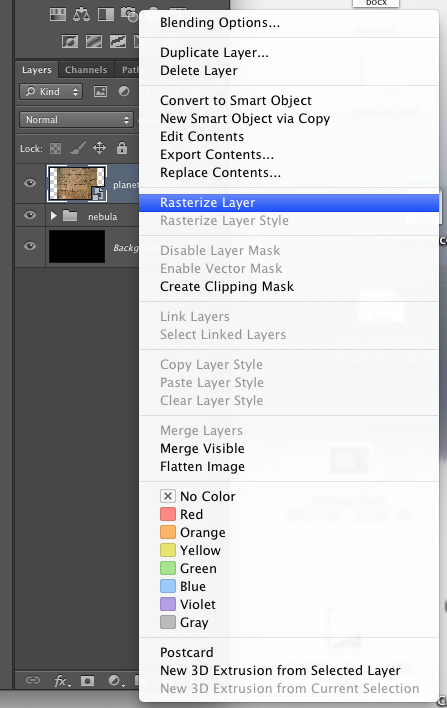
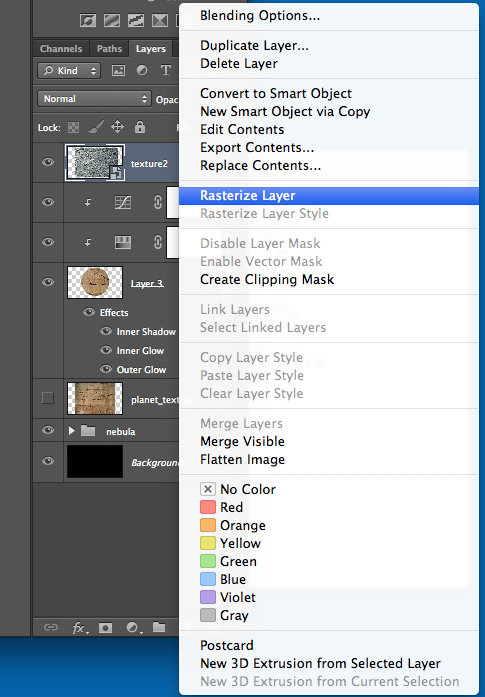
Right-click the name of your new layer and chose Rasterize Layer, like the picture to the right. ----->
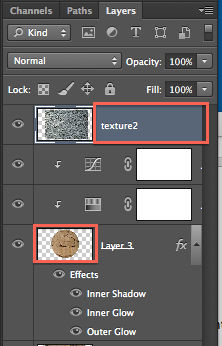
When it is rasterized, the little box in the lower right corner of the picture in you layer panel should be gone, like the example below: 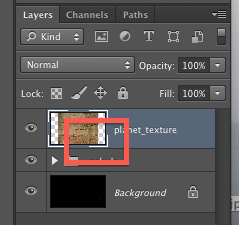
|
|
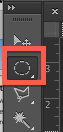
Step 2Click on the Circle Selection Tool. (Its real name is Elliptical Marquee Tool)
-----> If you don't see the circle, click and hold down on the square until a menu pops up like the one below. Then choose the Circle. 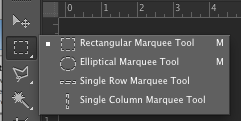
|
|
|
This next part is tricky:
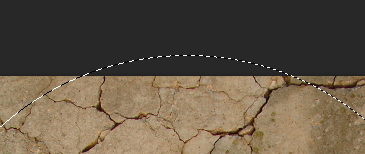
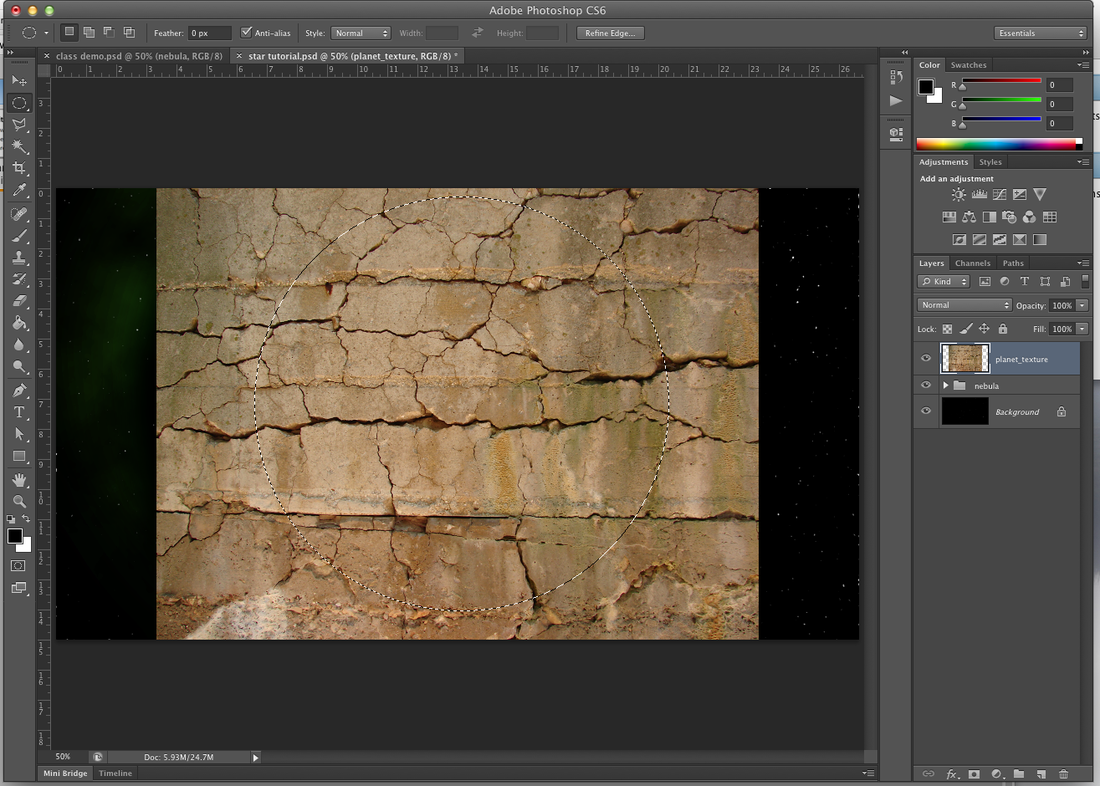
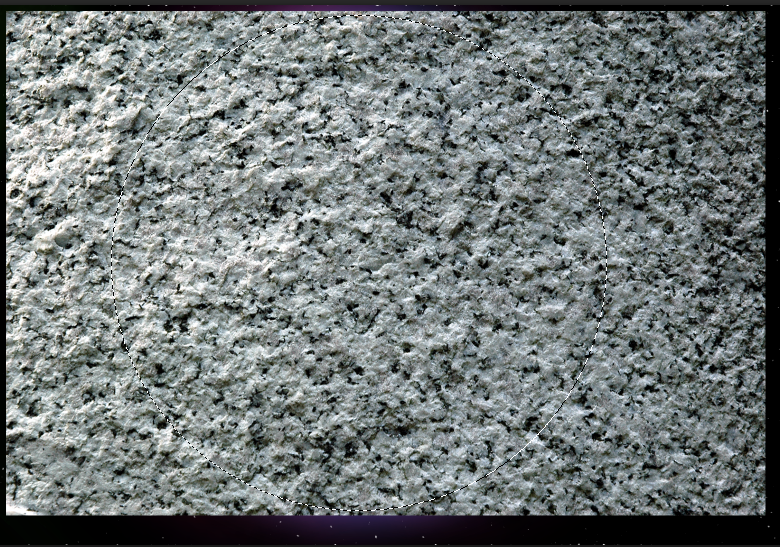
Hold down the Shift and Option keys. Click in the middle of the picture and drag outwards to make a circle that fills most of the picture. Make sure not to go outside of the edge, like the picture to the right. -----> Keep holding Shift and Option. Let go of the mouse. Now let go of Shift and Option. If you do not have a perfect circle filling most the picture, like the image below, press Command-D to deselect and start this step over. |
|
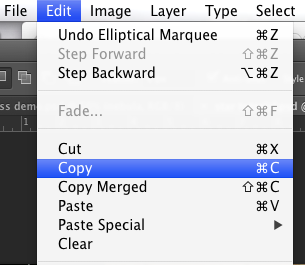
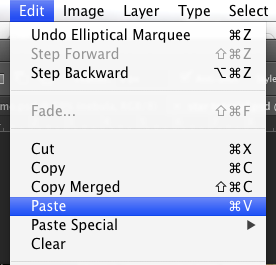
Step 3Go to Edit > Copy
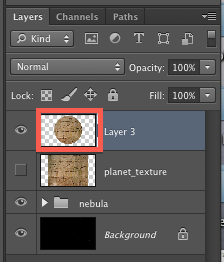
-----> And then Edit > Paste -----> Your picture will not change, but your layers will look like this: 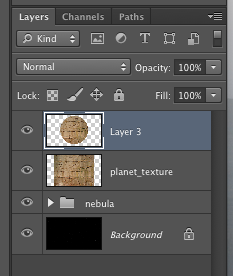
Click on the eye next to your original photo layer, and now you can see your planet in space, like the picture below:
|
|

Step 4Hold down the Command key and click on the thumbnail of your planet layer.
Like this -----> This will select everything in this layer, your whole planet. |
|
|
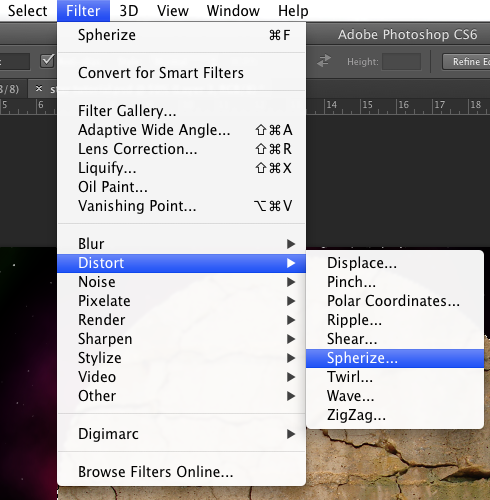
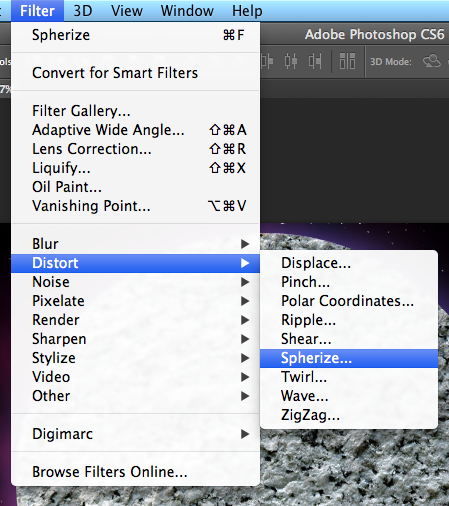
Go to Filter > Distort > Spherize...
|
|
|
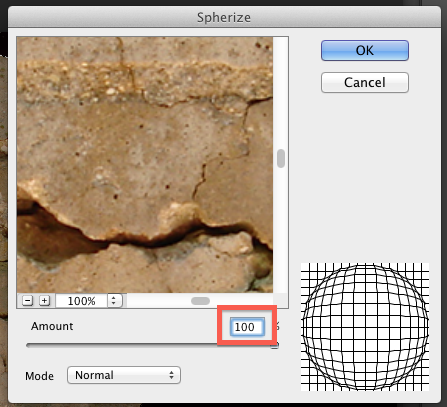
In the box that pops up, type 100. ----->
Then, go to Filter > Distort > Spherize... AGAIN. This time type 50. (see below) 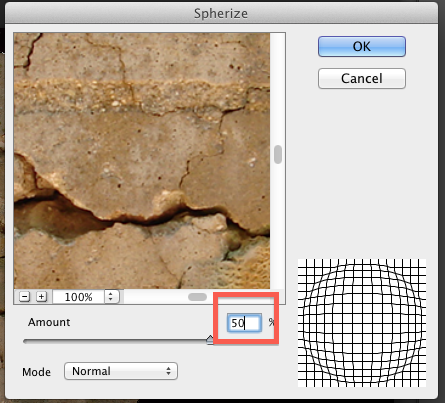
Press Command-D to deselect it.
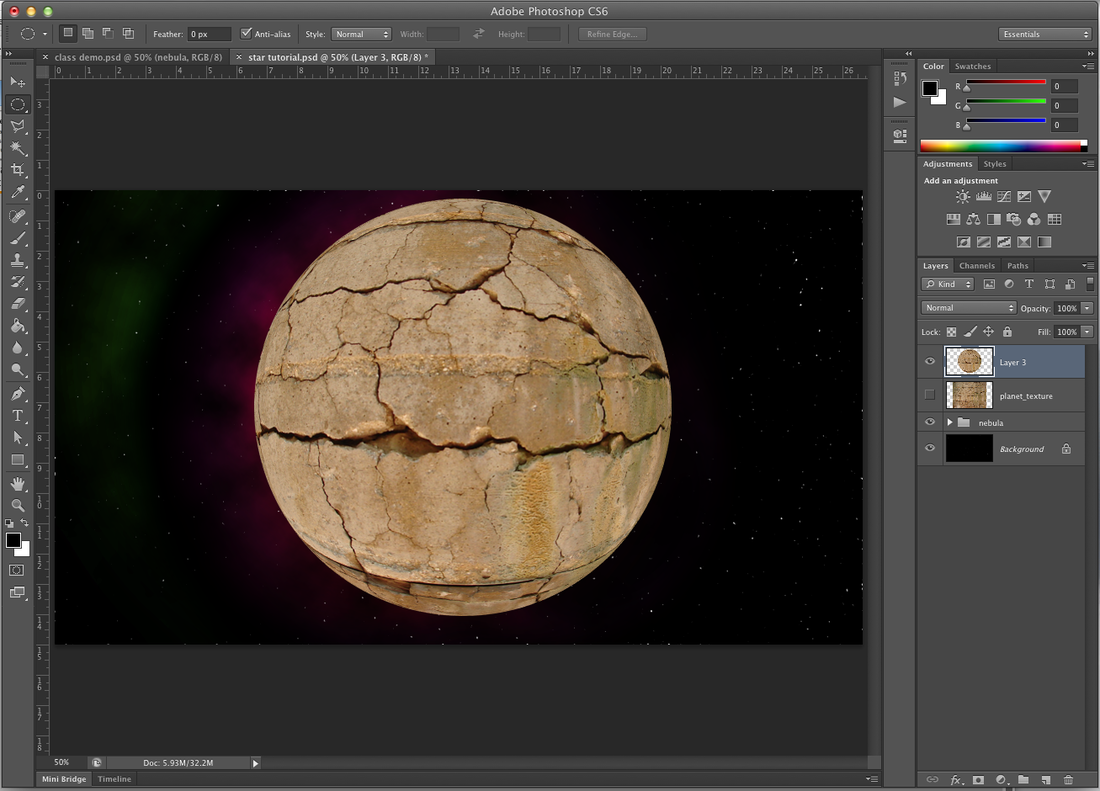
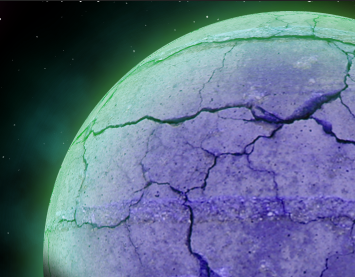
Now your planet will look like this: |
|
Step 5Double click on the thumbnail of your planet in the layers panel. ----->
This will open the Layer Style window (like the picture below) 
|
|
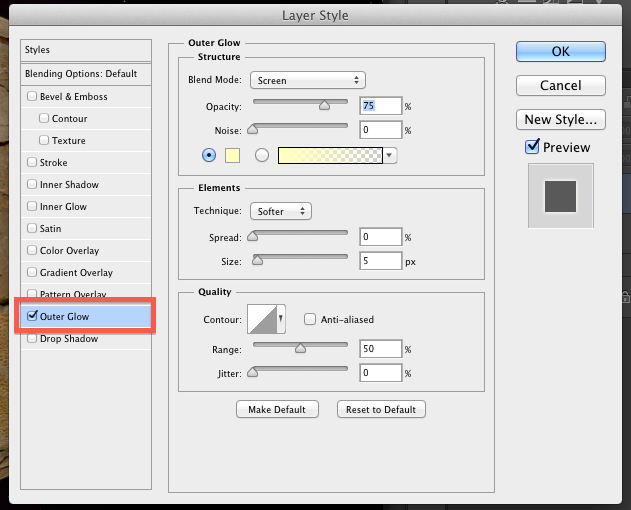
Step 6Click on the words Outer Glow
Do not just click the checkbox, click on the words. It should look like the picture to the right. |
|
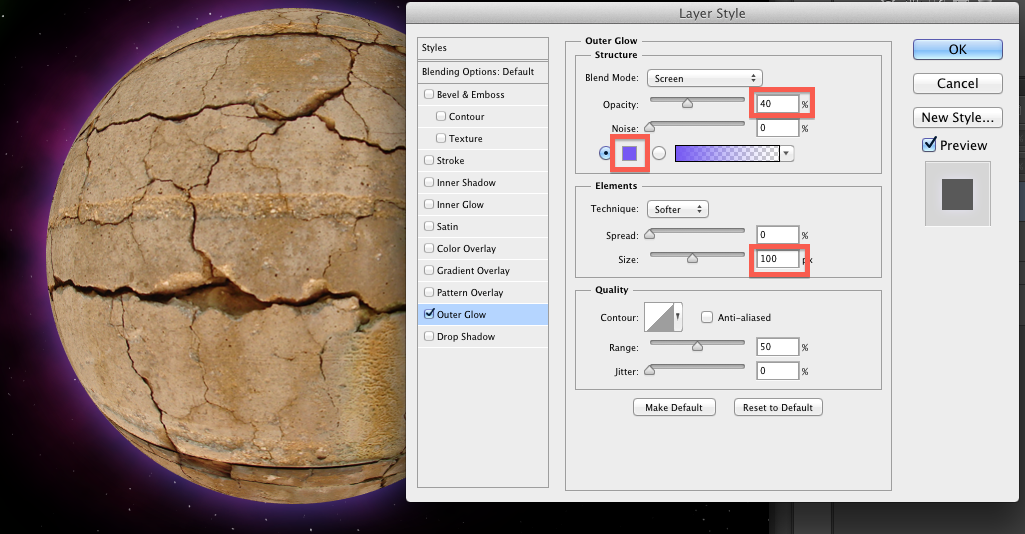
Try changing the Opacity, Color, and Size like the picture below.
Size controls how big the glow is. Opacity controls how much you can see through it.
Some numbers that work well are Opacity = 40 and Size = 100.
Make a glow that you like.
Size controls how big the glow is. Opacity controls how much you can see through it.
Some numbers that work well are Opacity = 40 and Size = 100.
Make a glow that you like.
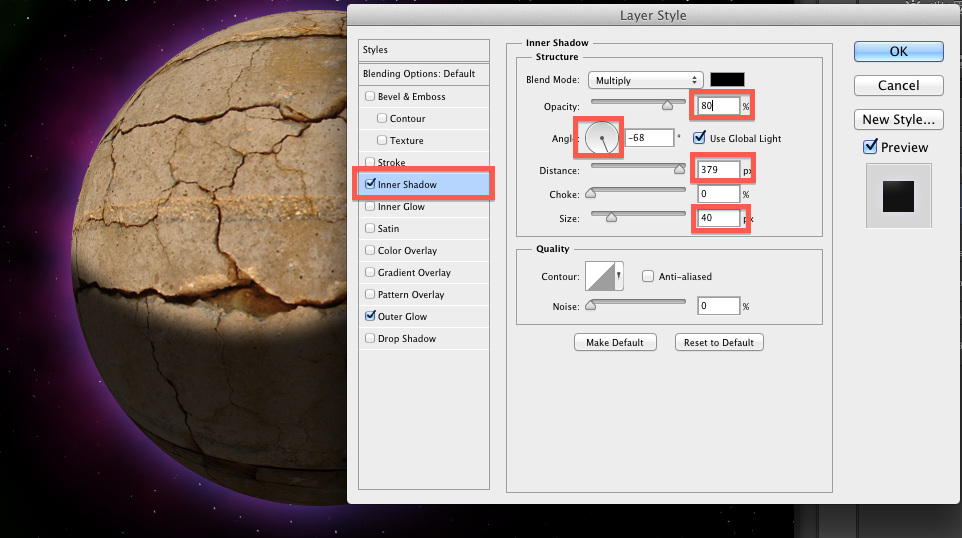
Step 7Now click on the word Inner Shadow.
Look at the picture below to see the options you can change. You can change the Opacity to make it darker or lighter. You can change the Angle to move where on you planet the shadow is. You can change the Distance to make the shadow bigger or smaller. You can change the Size to make the edge more or less blurry. |
When you have the Inner Shadow window open, you can also click and drag on your picture itself to move the shadow around.
|
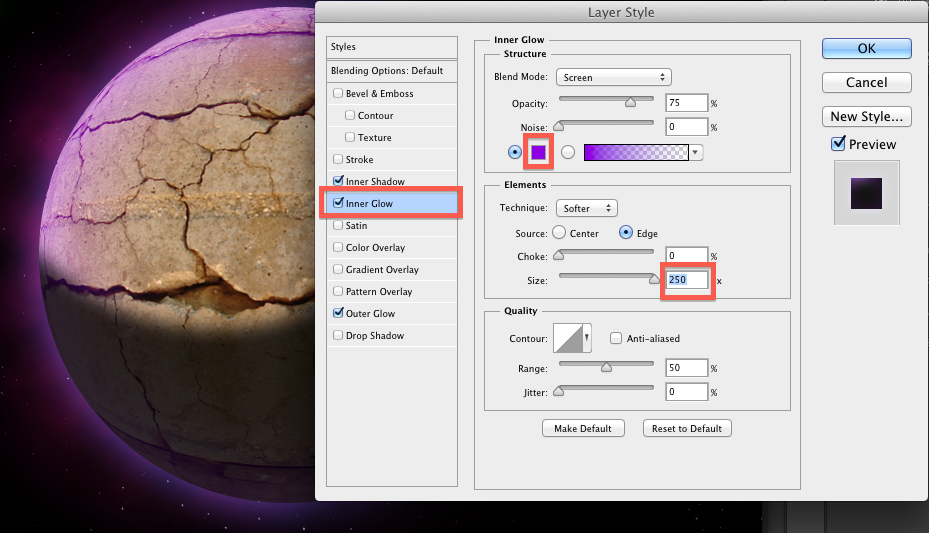
Step 8 (Optional)If you want, you may also add an Inner Glow. You can change the color and Size.
This will make it look like your planet has an atmosphere. |
This step is optional. It may or may not look you on your particular planat. You can always change it later.
|
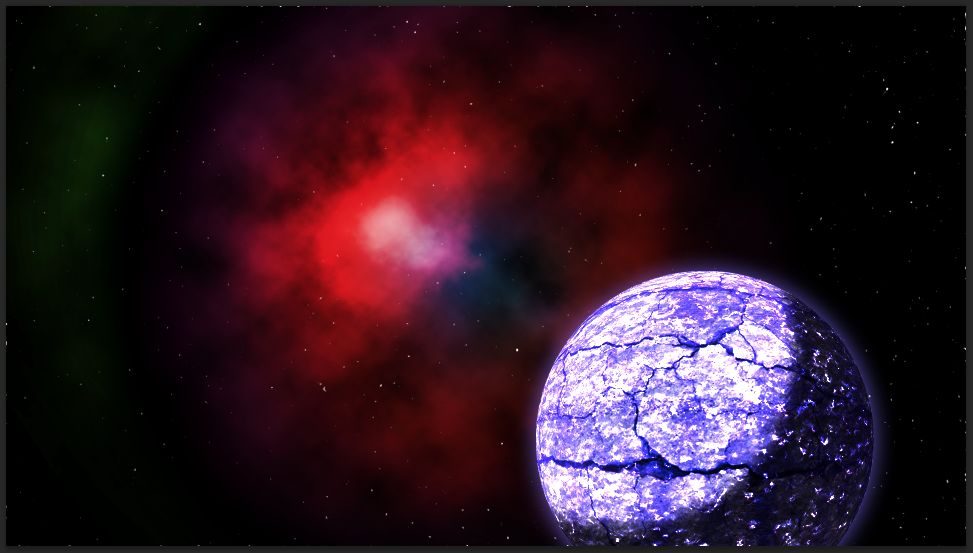
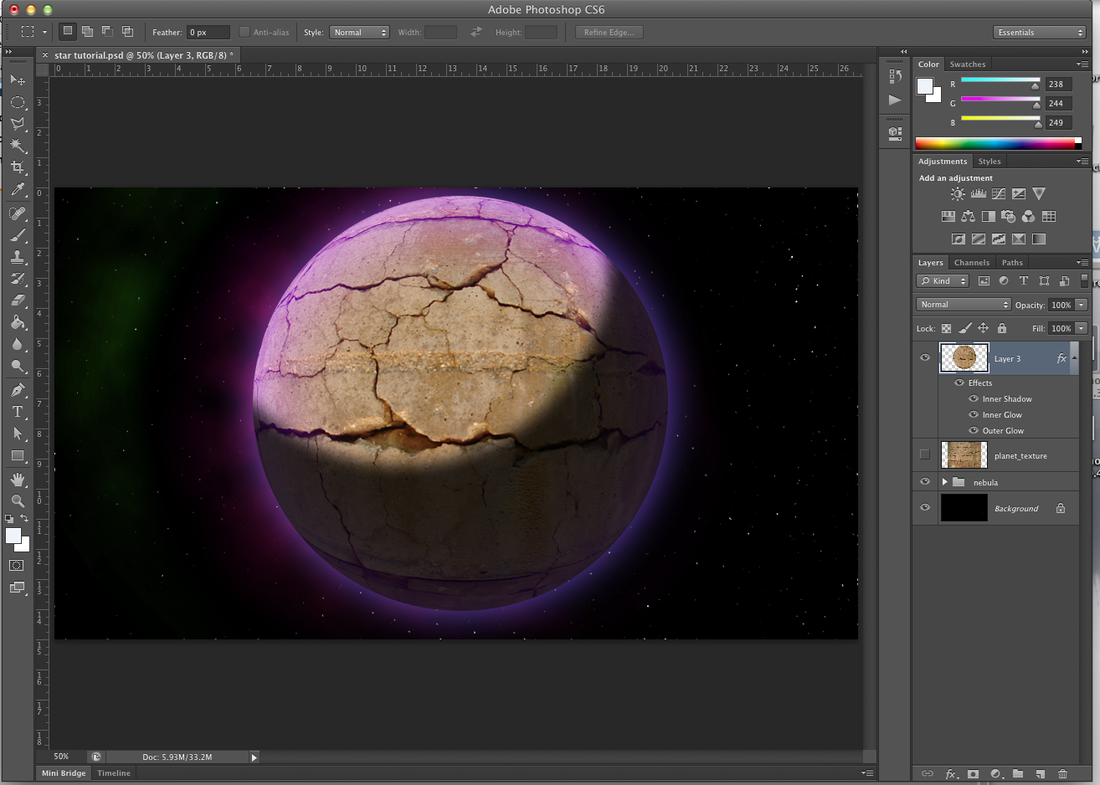
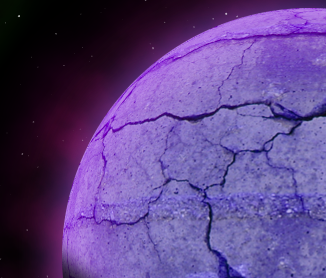
When you're done, click okay. Your planet may look like this:
Step 9 (Optional, 3 variations)Here are three ways to change how your planet looks. You can use any one or any combination of them.
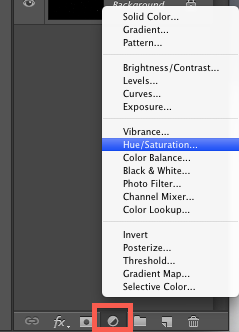
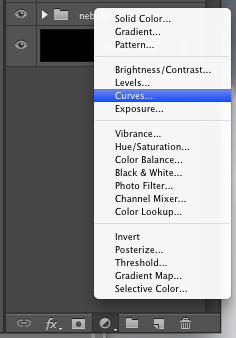
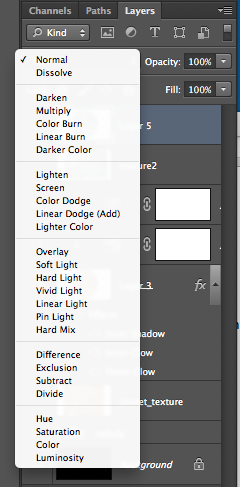
Step 9A: The first one is changing the color. At the bottom of your layers panel, click on the half-filled circle and choose Hue/Saturation. -----> Move the Hue slider to change the color, like the picture below. If your planet is grey, check the box that says Colorize first. 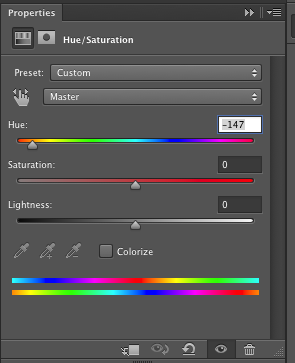
|
|
|
This will change all of the colors in your picture, like the one to the right. ----->
But we only want the planet's color to change. |
|
|
Hold down the Option Key and click on the line between the top two layers.
|
|
|
Now you are only changing the color of your planet.
|
|
|
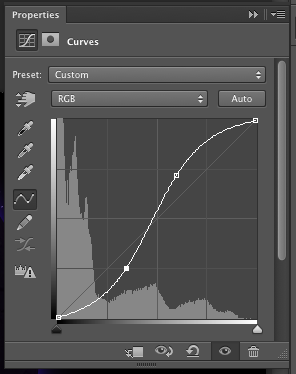
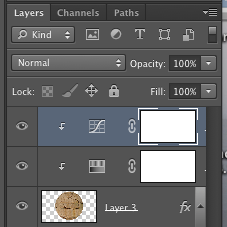
Step 9B
The next thing you can do to change the way your planet looks is with curves. Click on the half-filled circle at the bottom of the Layers panel. Choose Curves... |
|
|
Click and drag on the line to change how your picture looks. The more extreme the change, the more fake it will look.
|
|
|
Make sure to hold down the Option Key and click on the line between the top two layers.
|
|
|
Now your Curves will only effect your planet, not your nebula and stars.
|
|
|
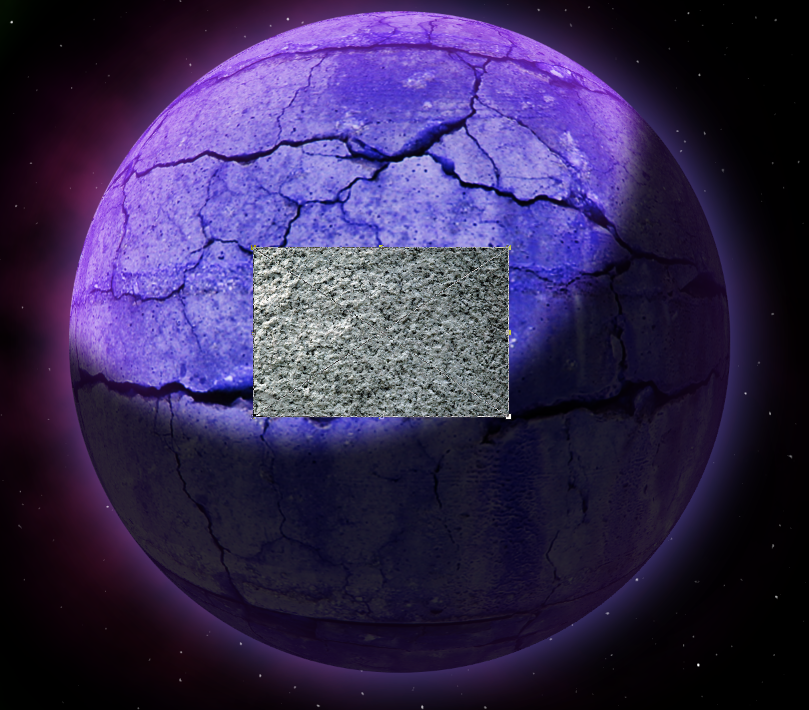
Step 9C
The third change you can do is the most complicated of these three changes, but it can look really cool. You will need a different photo of a texture than the one you have. Make a new layer and drag in a new texture photo. If the picture is really small, like the one to the right, hold down the Shift key and drag from the corner to make it larger. It just needs to cover the planet, not the whole image. When it is big enough, press Enter or Return. It should look like the picture below. |
|
|
Right-click on this new layer and choose Rasterize Layer.
The lower right corner of the picture in your Layers panal should look like the picture below, with no icon in it. 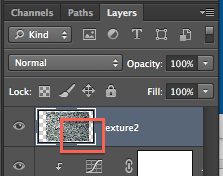
|
|
|
While you are still on your new texture layer, hold the Command key and click on the thumbnail of your planet layer.
Look at the picture on the right. Your top (new texture layer) should be blue, and you should have a selection on your image in the exact size and shape of your original planet. It should look like the picture below. Now go to Edit > Copy And then Edit > Paste |
|
|
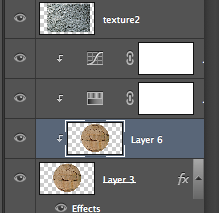
Your layers panel should look like the picture below:
Now you can turn off the eyeball on the texture picture to reveal the stars again.
Hold the Command key and click on the picture your new round texture layer to select it again. It should look like the picture below. |
Your layers panel should NOT look like the picture below, if this is what happened, press Command-Z and make sure you click on you new texture layer on the top before you copy and paste.
|
|
Go to Filter > Distort > Spherize...
Like the picture to the right. -----> And set the amount to 100. Like the picture below. Click OK. Press Command-D to clear the selection. 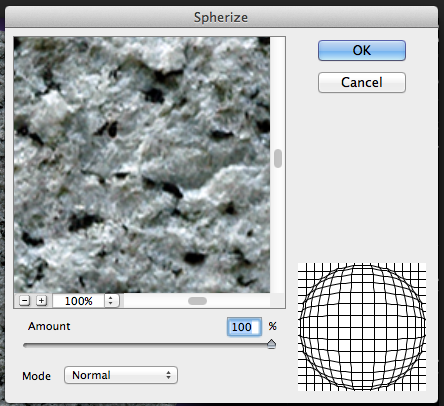
|
|
|
Now you can play around with blending modes.
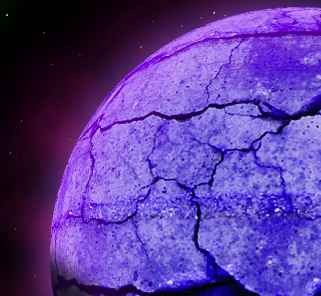
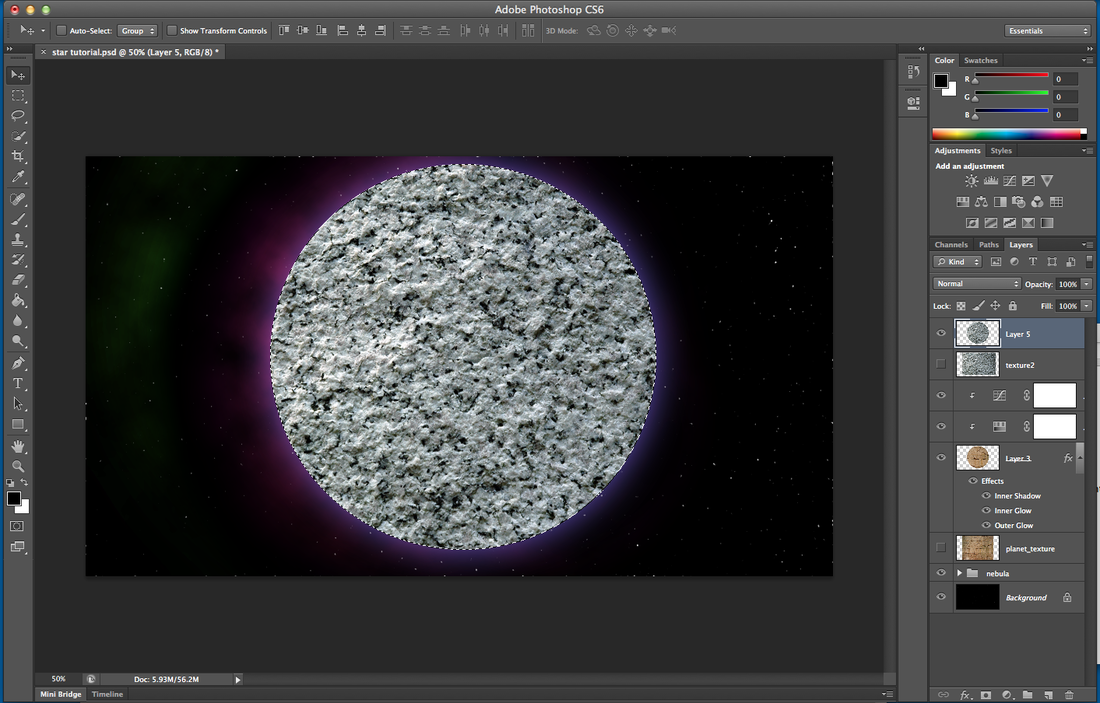
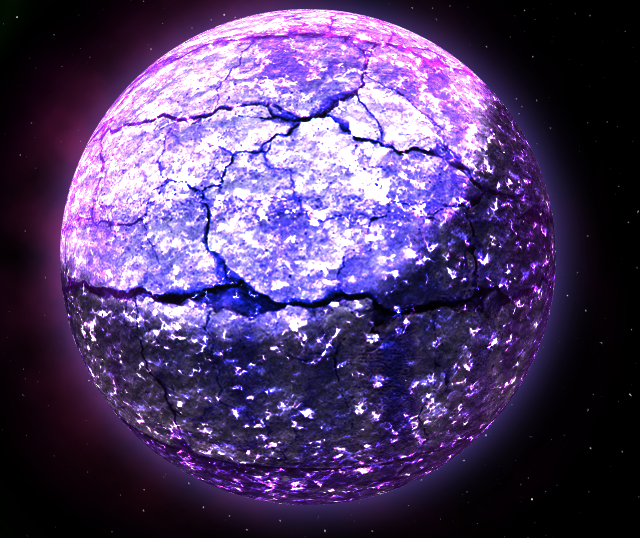
In your layers panel, click on the menu that says Normal. In the menu that appears, try out different blending modes to see what looks good with your planet. Remember, every photo reacts differently. One mode that looks great on one planet looks terrible on another. Just try out different ones to see what looks cool. Here is my planet below, using all three of the above techniques (Hue, Curves, and Blending Modes). |

|
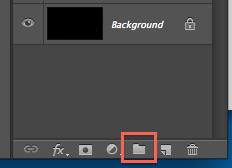
Step 10 (Moving your planet)In your Layers panal, click on the icon at the bottom that looks like a folder. This will make a new group.
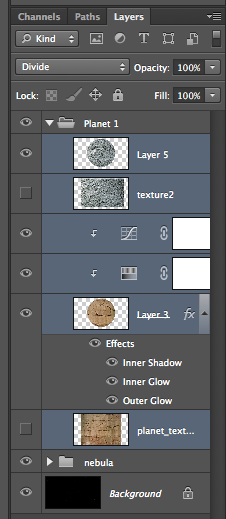
Double-Click on the name of your group to change the name, so you know what it is. Now, click on your top planet layer (in mine, on the right, it is Layer 5). Hold Shift and click on your bottom planet layer (in mine, on the right, it is planet_texture). Now drag these layers into your new group. It should look like the picture on the right. -----> If you click on the small triangle next to your group, it should look like the picture below: 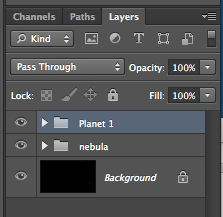
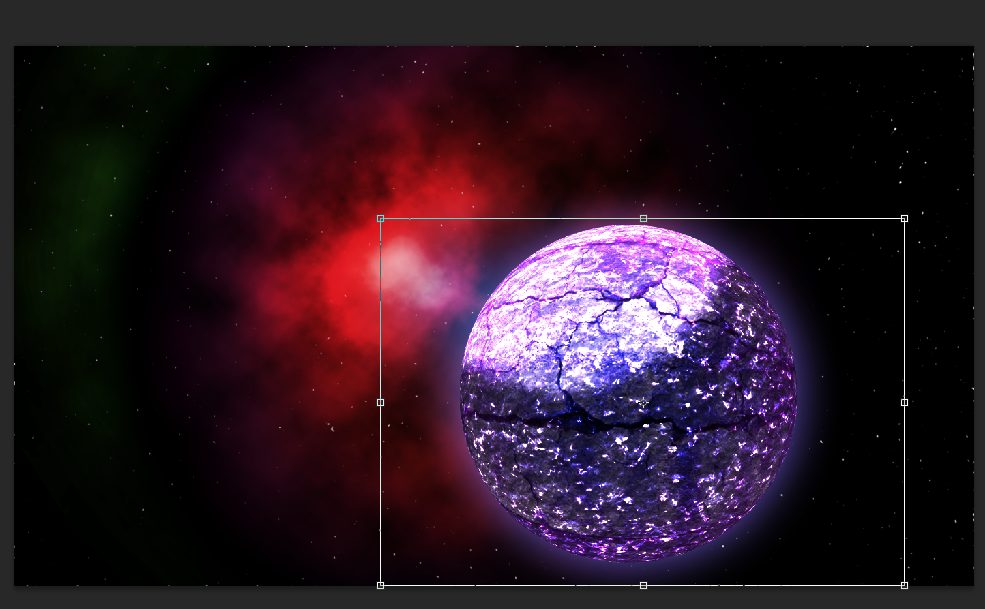
Now, while you have the group selected, if you press Command-T, you can move your planet around and make it smaller. To make it smaller, make sure you hold Shift and drag from the corner or your planet will not be round anymore.
(Once you shrink your planet, you can not make it bigger again. You can copy the whole group by dragging it to the New Layer icon in the Layers panel, and then turning the eyeball off. This way, if you change your mind later you can have your full-size planet to go back to.) 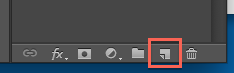
It may look like the picture below. Press Enter or Return when you are done.
|
|
|
Your shadow is probably a bit messed up.
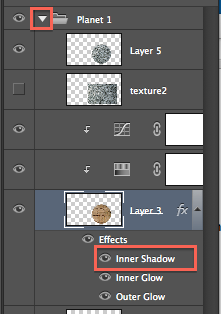
Click on the arrow next to your group to open the group again. Go down to your original planet layer and Double-Click on Inner Shadow. With this window open, you can drag on the light part of your planet to move it. Make sure your light side is facing the lightest part of your nebula. Like the picture below: |
|
|
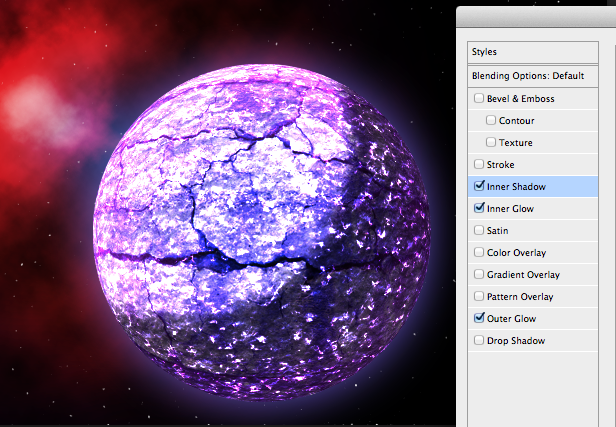
In my planet below, I also made a few other changes:
In the Inner Shadow window, I made the Opacity higher to make the shadow darker. In the Outer Glow, I made the Size smaller. In the Inner Glow, I made the Color more blue. |
You can adjust these Layer Effects to make your planet look good.
|